Hitting 'record' on your webinar is more than just a backup plan. It's the first real step in turning a one-off live session into a long-lasting content engine. When you capture your presentation, you're creating on-demand training, a lead-gen machine, and a treasure trove of marketing material that keeps working for you long after the webinar is over.
Why Recording Your Webinar Is a Non-Negotiable for Growth
It wasn't that long ago when a webinar was a 'be there or miss out' event. Now, recording a webinar is a standard business practice that transforms a single hour of work into a seriously valuable asset. The market reflects this shift, with projections showing the industry will balloon to $4.44 billion by 2025.
A recording instantly expands your reach well beyond the live audience, easily accommodating people in different time zones or with conflicting schedules. It gives attendees a chance to go back and review complex ideas and ensures anyone who couldn't make it live can still learn from what you shared.
But that's just scratching the surface. The recording is really the foundation of a much bigger content strategy.
Maximizing Your Webinar's Lifecycle
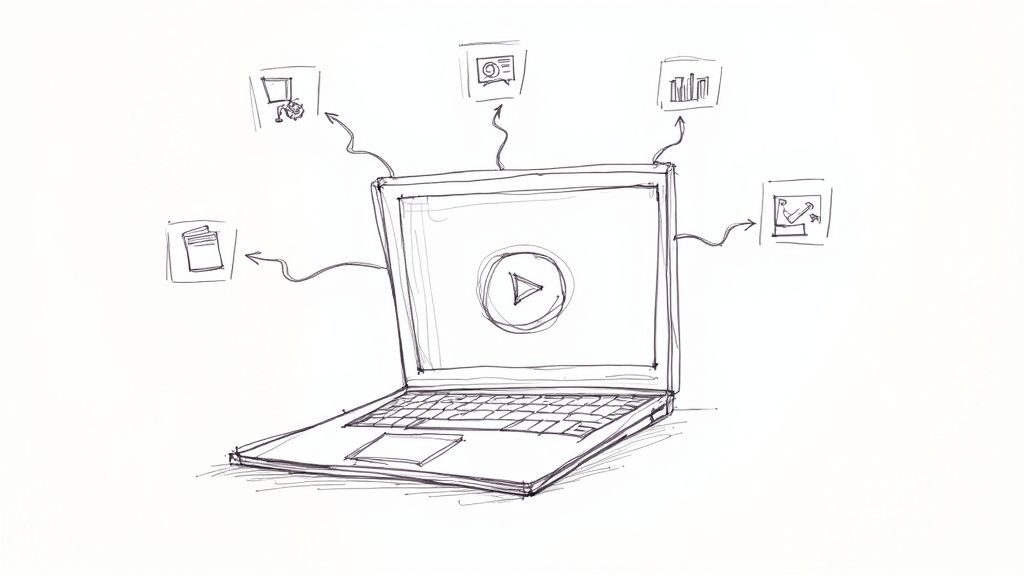
The real magic begins once the live event is done and you have that recording. Instead of letting that video file collect dust on a server somewhere, you can slice it, dice it, and transform it into a whole library of content.
Think about it. A single webinar recording can become:
Blog Posts and Articles: Transcribe the audio to quickly generate detailed, SEO-friendly articles that capture all the key points.
Social Media Gold: Pull out the best soundbites, surprising stats, or powerful quotes for engaging social media clips.
On-Demand Training: Repackage the session as an evergreen training resource for new hires or customer onboarding.
Lead Generation Magnets: Gate the on-demand recording behind a simple form to capture new leads around the clock.
This kind of content repurposing used to be a massive, time-sucking chore. Thankfully, the tools available today have completely changed the game.
By adopting a "record-first" mindset, you're no longer just planning a single event. You're building a sustainable library of knowledge. Every webinar becomes a building block for your future marketing, sales, and training efforts.
The Power of Automated Content Creation
This is where platforms like Notize AI come in. They are designed specifically to multiply the value of your recordings. Forget about manually scrubbing through an hour-long video to find key moments. You just upload the file and let the AI handle the grunt work.
For busy professionals and teams, Notize AI can record a webinar or meeting and automatically produce structured summaries, key discussion points, and a list of action items. Journalists and creators can use it to instantly generate blog posts from their recordings, while students can turn lectures into organized study guides.
With a tool like Notize AI, a dense, hour-long discussion becomes a searchable, shareable, and digestible asset in minutes. It makes your knowledge far more accessible and amplifies its impact without eating up more of your time. Every recording truly becomes a strategic investment.
Your Pre-Recording Checklist for Professional Results
The real magic of a flawless webinar recording happens long before you ever hit the 'Record' button. Seriously. A polished, professional final product is all about the groundwork you lay beforehand. Think of the next ten minutes as your pre-flight check; this small time investment now will save you a mountain of editing headaches later and ensure your recording is clean, crisp, and ready for your audience.
And it's not just about looking good. When you start with a high-quality source file, you unlock much more powerful possibilities later. For instance, feeding a clean recording into a tool like Notize AI means you'll get incredibly accurate meeting notes and detailed, speaker-attributed summaries. Garbage in, garbage out—it’s as true here as anywhere else.
Master Your Technical Setup
First things first, let's nail down the tech. Nothing tanks a webinar faster than a bad connection or garbled audio, and this isn't the time to just cross your fingers and hope for the best.
Start with your internet. Run a speed test and make sure you have solid upload bandwidth—I always aim for at least 5-10 Mbps as a safe baseline for stable streaming. If you're on Wi-Fi, try moving closer to your router. Better yet, plug directly in with an Ethernet cable. It’s the single best way to guarantee a stable connection.
Once your internet is solid, turn your attention to your audio and video.
Test Your Mic: Don't just see if the little green bar moves. Record a 30-second clip of yourself talking normally. When you play it back, listen for weird echoes, background hum, or that awful distorted "clipping" sound. Does your voice sound full and clear, or tinny and far away? Sometimes just moving the mic a few inches closer or further away makes all the difference.
Check Your Lighting: Natural light is always your best bet. If you can, set up so you're facing a window, not with it behind you (that's how you become a silhouette). No window? No problem. A simple ring light or even a well-placed desk lamp can illuminate your face and get rid of those distracting shadows.
Frame Your Shot: Get that camera up to eye level. Stacking a few books under your laptop is a classic, effective trick. It creates a much more direct, engaging connection with your viewers. Also, take a quick look at what's behind you. Is it clean and uncluttered? Perfect.
So many people just assume the default settings are fine. Take five minutes. Open your camera app and your webinar software to actually see what your audience will see. Check your lighting, your framing, and your audio levels right there in the app.
Prepare Your Digital Workspace
With your hardware dialed in, it's time to prep your digital environment. An unexpected email notification or a frantic search for the right slide can completely shatter your professional vibe.
Start by closing every single unnecessary application and browser tab. This does two things: it frees up your computer's resources to prevent lag, and it stops those embarrassing pop-ups from Slack, email, or social media. As a final failsafe, turn on your computer’s "Do Not Disturb" or "Focus" mode.
Next, handle your permissions. If you have guest speakers, make sure you have their written consent to record the session and use it later. And right at the start of the webinar, give a quick, friendly verbal reminder to all attendees that the session is being recorded. It’s a simple step that builds trust and keeps you on the right side of any legal or privacy concerns.
Finally, have all your presentation slides, links, and speaker notes open and ready to go. A little organization here means you can focus entirely on delivering great content instead of fumbling for your materials.
How to Record on Zoom, Google Meet, and Microsoft Teams
Knowing your way around the specific recording features of Zoom, Google Meet, and Microsoft Teams can make all the difference. Each platform has its own quirks—from where the record button lives to who actually has permission to press it. Getting these details straight before you go live saves you from that last-minute scramble and ensures you capture a clean, high-quality file.
Ultimately, a great recording is the perfect starting point for a tool like Notize AI. Once you have that file, you can feed it into the platform to generate searchable transcripts, detailed meeting summaries with speaker attribution, and clear to-do lists.
Let's walk through how to hit 'record' on each of these platforms.
Recording Your Webinar on Zoom
When it comes to recording, Zoom is a fan favorite for a reason. It offers a fantastic level of control. As the host or co-host, you’ll find the "Record" button right on the bottom toolbar. Click it, and you'll get a choice: save the recording to the cloud or directly to your computer.
Cloud recording is usually the way to go. It’s convenient and spits out a shareable link as soon as it's done processing.
But here’s the real pro-tip for Zoom: it can capture separate audio tracks for each speaker. This is an editor’s dream. If one person has a barking dog in the background, you can isolate and fix their audio without messing up everyone else's. It gives you so much more flexibility in post-production. For a deeper dive, check out our full guide to recording a Zoom meeting.
Before you hit that record button, always run through a quick tech check.
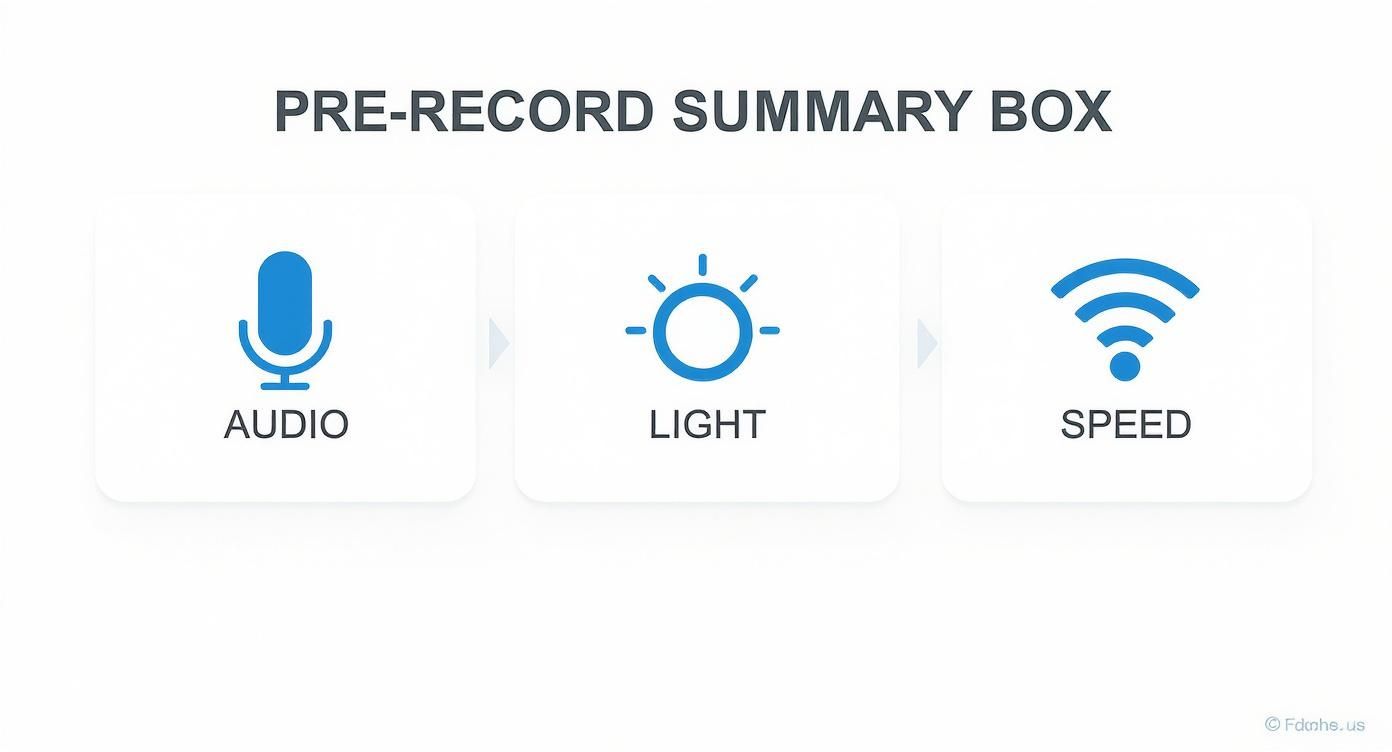
Getting these three things right—audio, lighting, and internet—is the absolute bedrock of a professional-looking webinar.
Capturing Your Session in Google Meet
Google Meet keeps things simple, but whether you can record at all hinges on your Google Workspace plan. Assuming you have a qualifying account, the meeting organizer (or someone else from the same organization) can kick off the recording.
Just click the three-dot menu in the bottom-right corner, select "Record meeting," and hit confirm. A notification will pop up for all attendees, so everyone knows the session is being recorded.
When you stop, the video is automatically saved to a dedicated "Meet Recordings" folder in the organizer’s Google Drive. This makes it incredibly easy to grab the file and upload it straight into Notize AI for analysis, which can then turn it into a full summary with action items.
One key thing to remember with Google Meet: it records the active speaker and whatever is being presented. You get a single, combined video file. This is simpler than Zoom, but it also means you lose the flexibility of having separate audio and video tracks for editing.
Recording a Presentation in Microsoft Teams
Microsoft Teams is built for the workplace, and its recording function reflects that collaborative spirit. The meeting organizer and other members from the same organization can start or stop the recording. A clear banner appears at the top of the meeting window, leaving no doubt that the session is being captured.
A standout feature here is that Teams recordings can also capture the in-meeting chat, which is fantastic for preserving context, links, and questions that came up during the presentation.
Once the meeting wraps up, your recording is processed and saved in either OneDrive or SharePoint, depending on your meeting setup. From there, it's ready to be imported into Notize AI to pull out transcripts, speaker-attributed notes, and all the key takeaways.
Webinar Recording Features Across Platforms
To make it easier to see the differences at a glance, here’s a quick rundown of how the native recording features stack up.
Feature | Zoom | Google Meet | Microsoft Teams |
|---|---|---|---|
Who Can Record | Host & Co-Hosts | Organizer & same-org members (plan dependent) | Organizer & same-org members (permissions dependent) |
Local Recording | Yes | No | No |
Cloud Recording | Yes | Yes | Yes |
Separate Audio Tracks | Yes | No | No |
Recording Storage | Zoom Cloud / Local Computer | Organizer's Google Drive | OneDrive / SharePoint |
In-Meeting Chat Capture | No (saved as separate .txt file) | No | Yes (integrated with recording) |
Automatic Transcription | Yes (on select plans) | Yes (on select plans) | Yes |
Each platform has its strengths. Zoom offers the most post-production flexibility, Meet is the essence of simplicity, and Teams excels at capturing the full collaborative context of a meeting.
Capturing and Optimizing Your Audio and Video

You could have the most insightful webinar content in the world, but if your audio is fuzzy and your video is pixelated, your message will be completely lost. When the audience has to work just to see or hear you, they tune out. Getting this right isn't just about the live experience; it's about creating a valuable asset you can use for years.
Think of your source file as the foundation for everything to come. When you feed a clean, crisp recording into a tool like Notize AI, you get back remarkably accurate transcriptions, perfectly attributed speaker notes, and insightful summaries. You're setting your future content up for success from the very beginning.
Achieving Crystal-Clear Audio
Let’s be honest: your laptop's built-in microphone isn't doing you any favors. It's great in a pinch, but it’s designed to pick up everything, including the clatter of your keyboard, the echo in your room, and every other distracting background noise. The result is often thin, distant audio that undermines your authority.
The single best investment you can make for your webinar quality is an external USB microphone. You don't need a high-end studio setup; a decent USB mic will immediately make your voice sound richer, clearer, and far more professional.
Mind Your Mic Placement: Aim to position the microphone about 6-12 inches from your mouth, slightly to the side. This simple trick captures your voice's natural resonance while preventing those harsh popping sounds (known as "plosives") on words with "p" and "b."
Soften Your Surroundings: Hard surfaces are the enemy of clean audio. Bare walls, windows, and hardwood floors create echo. Recording in a room with a rug, curtains, or even just a few pillows can absorb that sound, giving you a much cleaner track.
This little bit of prep work makes a huge difference. When Notize AI processes audio that’s free of hiss and echo, its ability to pinpoint different speakers and transcribe accurately goes way up.
Optimizing Your Video for a Professional Look
You don't need a professional film crew to look great on camera. In my experience, good video really just comes down to three simple things: lighting, camera angle, and your background. Nailing these helps you build a connection with your audience and keeps them focused.
First, find your best light. Natural light from a window is often your best bet. The key is to face the window, letting that soft light illuminate you evenly. Never sit with a bright window behind you—it’ll turn you into a dark, shadowy silhouette.
A simple rule of thumb for great video is "light source in front, camera at eye level." This combination instantly elevates your presence and makes you appear more direct and confident to your audience.
The angle of your camera is just as important. You want it at eye level or just slightly above. It's the most flattering and engaging angle. If you're using a laptop, you don't need fancy equipment; a stack of books or a small box works perfectly.
Finally, give your background a quick check. It doesn't have to be a movie set, but it should be tidy and free of distractions. A clean, uncluttered space reinforces your professionalism and keeps the focus where it belongs—on you. When you're recording a webinar, a high-quality source file is the first step in creating an evergreen asset.
Turn Your Webinar Recording into a Goldmine with Notize AI
So, your webinar is a wrap and you've got the recording safely stored. Don't just file it away and forget it. That video file is more than just an archive; it's the raw material for a whole library of content that can keep working for you long after the live event ends.
This is where a tool like Notize AI comes in. Instead of letting that valuable recording gather digital dust, you can instantly spin it into powerful, reusable assets for different teams and campaigns. It’s about squeezing every last drop of value from the effort you've already put in.
The process couldn't be simpler. Just upload your final recording from Zoom, Teams, or Google Meet—or even a link from YouTube or TikTok—and Notize AI takes over, turning that raw footage into something structured and genuinely useful.
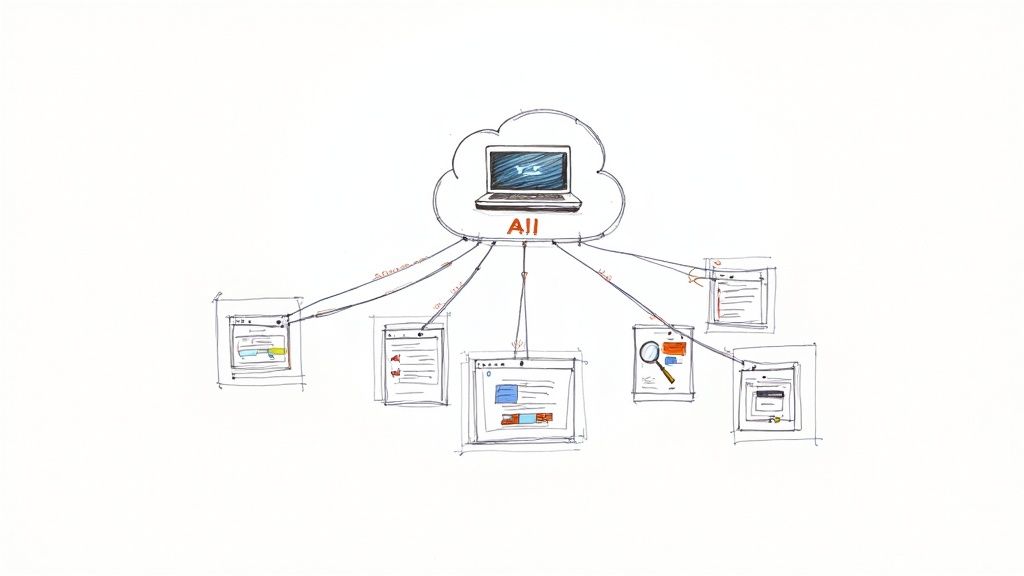
From Raw Video to Actionable Intelligence
Once your file is in the system, the platform works its magic to generate a whole suite of assets. This isn't just a basic text dump; it’s a complete, intelligent breakdown of your entire webinar.
Here's what you get back almost immediately:
A full, structured summary that gets right to the main arguments and takeaways.
Key discussion points and insights automatically highlighted for a quick scan.
Detailed meeting notes with speaker labels, so you know exactly who said what and when.
A clean list of action items and to-dos for easy follow-up.
An hour-long conversation is suddenly transformed into a searchable, scannable resource. If you're curious about the tech behind this, our guide on how to transcribe audio to text breaks it all down.
Powerful Use Cases for Every Team
The real payoff comes when you start putting these AI-generated assets to work. Different departments can pull exactly what they need from that single recording, saving a ton of time and keeping everyone on the same page.
For creators and marketing teams, Notize AI is a content factory. Imagine instantly generating a draft for a blog post in your preferred writing style, complete with suggested hooks and stronger wording. You can pull a dozen shareable clips for social media based on the webinar's most impactful moments and even publish directly to a custom blog within the app.
Meanwhile, a sales team can use Notize AI to instantly get all action items and follow-up tasks from a demo. They can search across all past meetings for specific keywords and jump directly to the moment a decision was made, ensuring no opportunity slips through the cracks.
With Notize AI, you’re not just storing a video. You're creating an intelligent, dynamic asset that can be queried, repurposed, and distributed to drive business results. It’s about working smarter, not harder.
This strategy of recording and repurposing has become a huge advantage for businesses. When companies turn their live webinars into on-demand content, they massively extend the reach and lifespan of their message. In 2024 alone, marketers using AI to repurpose webinar recordings into blogs, video clips, and social posts saved an estimated 13,000 hours of manual work. That translates to roughly $650,000 in labor costs.
By plugging Notize AI into your post-webinar workflow, you're building a system that ensures every single recording delivers maximum, long-term value.
Got Questions About Recording Webinars?
Even with the best-laid plans, a few questions always seem to pop up right before you hit record. Let's tackle some of the most common ones I hear from people so you can move forward with total confidence.
What’s the Best Format for Recording a Webinar?
You really can't go wrong with MP4 (using the H.264/AAC codec). Think of it as the universal language of video. It delivers fantastic quality without creating a massive file that’s a pain to store and share.
The good news is that most platforms you're already using, like Zoom or Microsoft Teams, default to this format. This means your recording will be ready for just about any editing software or platform, including tools like Notize AI, which can process MP4s quickly for faster summaries and analysis.
How Do I Get Permission to Record a Webinar with Guests?
This is a big one, and getting it right is crucial. Consent isn't just a nice-to-have; it's a must. The cleanest way to handle this with guest speakers is to get their permission in writing before the event. I always include a simple clause in my speaker agreements that clearly spells out how we plan to use the recording.
For attendees, you have a few easy options to make sure everyone is in the loop:
Pop a quick, clear disclaimer on the webinar registration page.
Give a friendly verbal heads-up at the beginning of the live session.
Let the platform’s built-in "Recording" notification do the work—it’s a clear signal to everyone.
Being upfront builds trust and shows you respect everyone's privacy.
My rule of thumb is simple: always get explicit consent. A quick sentence in an email or a clear statement at the start of the webinar avoids any awkwardness later and keeps everything professional.
Can I Record a Webinar If I’m Just an Attendee?
The short answer is almost always no. Hosts and co-hosts hold the keys to the recording controls for a reason. Trying to capture the session with third-party screen recording software without the host's okay can land you in hot water, potentially violating the platform's terms of service or even copyright laws.
Your best bet? Just ask. Most hosts are more than happy to share a link to the recording afterward—it helps them get more mileage out of their content.
Once you have that official link, you can easily use a tool like Notize AI for your own notes. Simply provide the link from platforms like YouTube, and you can get a private summary, key takeaways, or even ask the AI questions about the content without watching the whole thing. It's the perfect way to get all the insights while respecting the host's control over their content.
Ready to see what's really inside your webinar recordings? Notize AI transforms your video files into searchable, actionable intelligence in minutes. Get summaries, transcripts, and key insights automatically. Start turning your content into gold today.
A Guide to Recording a Webinar Flawlessly