To get clean audio, you really need to tackle the problem from a few different angles: the hardware you choose, where you put your mic, and how you dial in your software settings. The ultimate goal here is to improve your Signal-to-Noise Ratio (SNR), which is just a fancy way of saying you want your voice to be way louder than everything else.
The simplest way to start? Get the microphone as close to your mouth as you can. Seriously, this one change can make a massive difference.
Why Your Mic Is Picking Up Every Little Sound
Ever feel like your microphone is a magnet for every keyboard clack, distant siren, or air conditioner hum? More often than not, it's a simple mismatch between your gear and your recording space. You might have a fantastic mic, but if it's the wrong type for your room, you're constantly fighting an uphill battle.
The key is achieving a high Signal-to-Noise Ratio (SNR). Think of the "signal" as your voice and the "noise" as all that other junk. A high SNR means your voice is the star of the show—clear, present, and professional. When the SNR is low, that background clutter starts creeping in, making your audio sound muddy and amateurish.
The Great Debate: Condenser vs. Dynamic Mics
One of the biggest mistakes I see people make is using a super-sensitive condenser microphone in a room that hasn't been acoustically treated. Mics like the Blue Yeti are famous for a reason; they capture an incredible amount of detail. That's a huge plus in a soundproofed studio, but it becomes a major liability in a typical home office, where it'll pick up room echo, computer fans, and street noise with the same crystal clarity as your voice.
For most people in less-than-perfect rooms, a dynamic microphone is a much smarter choice. These mics are inherently less sensitive and are built to capture sound from directly in front of them, which means they naturally reject sounds coming from the sides and back. This design makes them perfect for streamers, podcasters, and anyone working from home who needs clear audio without building a full-blown studio.
Expert Tip: Let your room decide your microphone, not the other way around. A workhorse dynamic mic in a noisy room will almost always sound cleaner than a pricey condenser mic in that same space.
Here’s a quick-reference table to help you identify what you're hearing and find the fastest solution.
Common Mic Noises and Their Quickest Fixes
Noise Source | What It Sounds Like | Your Best Strategy |
|---|---|---|
Room Echo / Reverb | A hollow, "bathroom" sound; your voice sounds distant. | Get closer to the mic and add soft surfaces (rugs, curtains) to your room. |
Keyboard & Mouse Clicks | Sharp, distracting tapping or clicking sounds. | Switch to a dynamic mic and use a low-cut filter to remove high-frequency clicks. |
Fan or AC Hum | A constant, low-frequency droning or whirring. | Use a noise gate or AI noise suppression software like NVIDIA Broadcast. |
Plosives (P & B Sounds) | A harsh "pop" or burst of air when you speak. | Use a pop filter and position the mic slightly off to the side of your mouth. |
Electrical Interference | A buzzing or humming sound that changes with your computer's activity. | Try a different USB port or use a ground loop isolator. |
This table should help you pinpoint the issue and jump straight to the fix that will give you the biggest bang for your buck.
When Your Recording Is Far From Perfect
Let's be realistic—even with a great setup, some background noise is just unavoidable. A dog barks, the kids get home from school, or unexpected construction starts up next door. When life happens, modern software tools can be an absolute lifesaver.
For instance, a student trying to record a lecture in a noisy hall can upload the audio file to a service like Notize AI. The software is built to isolate speech from the surrounding chaos, turning a messy recording into clean, accurate notes and summaries. In the same way, a journalist who has to conduct an interview on a windy street can use Notize AI to get a usable transcript without spending hours manually cleaning up the audio.
It gives you peace of mind, knowing that even if the recording conditions aren't perfect, the audio can still be turned into something valuable.
Your First Line of Defense: Physical and Environmental Fixes
Before you touch a single software setting, let's talk about the room you're in. Getting your physical space right is, hands down, the most powerful thing you can do for your audio quality, and it often costs nothing.
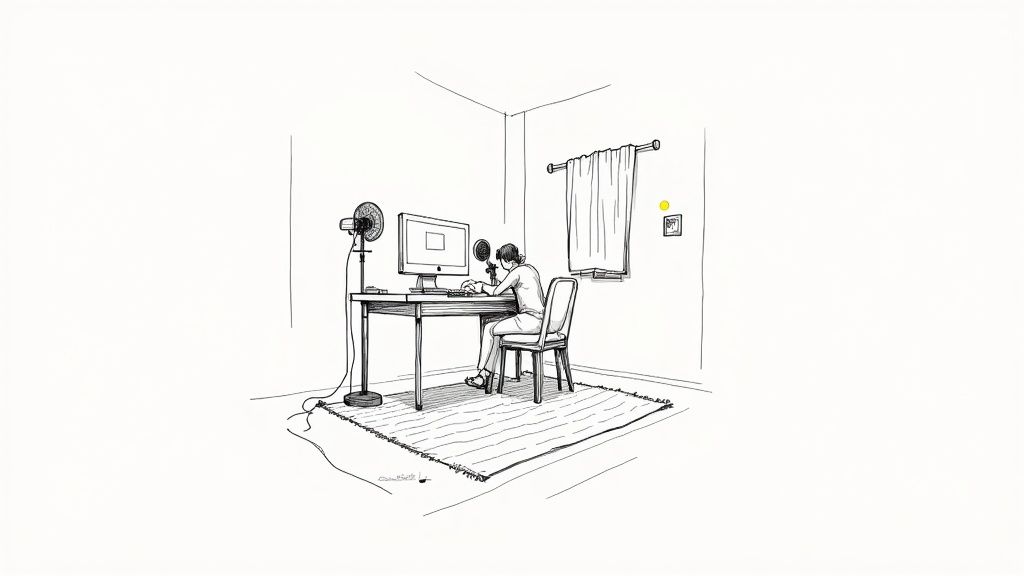
Think of a room with lots of hard, flat surfaces—bare walls, a hardwood floor, a big window. It's basically an echo chamber. Sound waves from your voice hit those surfaces and bounce right back into your mic, creating that distant, hollow, unprofessional reverb. Your microphone isn't smart enough to separate your voice from all those reflections.
This is a classic problem. I've heard it from busy professionals in crucial meetings and from students trying to record a lecture. The audio just turns to mud. And while a tool like Notize AI can work wonders by generating automated meeting summaries and action items later, giving it clean audio to start with makes a world of difference.
Taming Your Recording Space
Your mission is simple: absorb the sound before it has a chance to bounce around. Look around your room. Anything soft or irregularly shaped is your best friend.
You can get started without spending a dime:
Shut the door and windows. I know, it's obvious, but you'd be surprised how many people forget. This is your first barrier against traffic, barking dogs, and hallway chatter.
Pick the right room. If you have a choice, a small, carpeted room full of stuff (like a bedroom or even a walk-in closet) will sound a thousand times better than a big, empty kitchen.
Get creative with what you have. Drape some heavy blankets over a couple of chairs. Lean a mattress against a wall. A pile of pillows or laundry in the corner can genuinely help break up those nasty sound reflections.
These quick fixes interrupt the sound waves, deadening the room's echo. You'll immediately hear your voice sound more present and direct.
The Power of Proximity and Positioning
Once you've done some basic room treatment, the next trick is all about where you put the mic. This is where you can get some truly dramatic improvements.
The closer you are to the mic, the louder your voice is compared to everything else. It's a simple signal-to-noise ratio game. A good rule of thumb is to stay about a palm's width away from your mic. If you're too far, you have to crank up the gain (the mic's sensitivity), which means you're also amplifying your computer fan, the air conditioner, and every echo in the room.
Moving a microphone from 1 meter away to just 10 centimeters can boost your voice level relative to room noise by roughly 20 dB. That's not a small tweak—it can be the difference between unusable audio and a crystal-clear recording.
Where you point the mic matters just as much. Most microphones used for voice are cardioid, meaning they're designed to hear what's directly in front of them and reject sounds from the sides and back. Use this to your advantage.
Got a loud mechanical keyboard? Don't put the mic on your desk right behind it. Instead, use a boom arm to position the mic in front of you, pointing down at your mouth. This puts the keyboard in the mic's "null" or dead zone, and the clicky-clacky sounds will practically disappear.
Making Smart Physical Adjustments
When you combine close miking, a directional mic, and some basic room treatment, you're not just making small improvements. You can easily achieve a cumulative noise reduction of 20–30 dB. That's a massive, night-and-day difference in perceived quality. You can even explore the technical data behind these principles to see just how effective they are.
Beyond the big stuff, a couple of small accessories can make a huge impact:
Get a shock mount. This little gadget cradles your mic in an elastic suspension, isolating it from any vibrations coming through your desk or mic stand. Without one, every bump of the desk or heavy footstep becomes a low-frequency rumble in your audio.
Use a pop filter. This is the foam or mesh screen you see between a singer and their mic. It stops the burst of air from "p" and "b" sounds (plosives) from hitting the microphone diaphragm and creating a horrible popping noise.
By focusing on your physical setup first, you're capturing clean audio at the source. That means less time spent trying to fix it later and better results from any tools, like Notize AI, that rely on clear audio to generate accurate meeting notes, summaries, and action items.
Choosing the Right Microphone and Gear
While treating your room makes a huge difference, the hardware you use is just as foundational. Picking the right microphone isn't about spending the most money; it's about choosing the right tool for the job. Your goal is to capture your voice with clarity while telling the mic to ignore everything else.
This decision has a ripple effect on everything that follows. For instance, feeding clean audio into a tool like Notize AI means the automated summaries and action items it generates will be spot-on. Garbage in, garbage out—but great audio lets the technology work its magic.
Dynamic Mics: Your Secret Weapon in Noisy Rooms
Condenser microphones get a lot of hype, and in a professional studio, they're fantastic. But in a typical home office or untreated bedroom, their hyper-sensitivity is a curse. They'll capture the beautiful nuances of your voice, but they'll also pick up the hum of your air conditioner, the clicking of your keyboard, and the dog barking two rooms away.
This is where the dynamic microphone becomes the hero. For most of us—creators, professionals on calls, or students recording lectures—a dynamic mic is the smarter choice. They are inherently less sensitive and built to capture sound from right up close, which makes them naturally gifted at rejecting noise from the sides and back. They zero in on your voice and push the background chaos into the... well, the background.
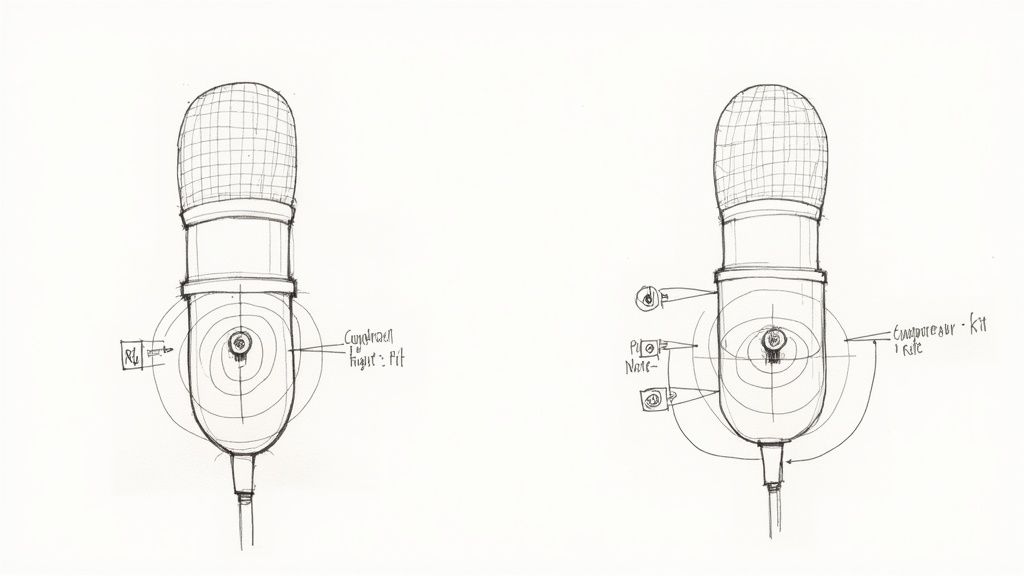
Understanding Microphone Polar Patterns
A microphone's noise-rejecting superpower comes from its polar pattern—think of it as its directional hearing. For any solo recording scenario, like a podcaster, a streamer, or a professional leading a webinar, the cardioid pattern is your absolute best friend.
A cardioid mic captures sound in a heart-shaped field, being most sensitive to what's directly in front and least sensitive to what's behind. This design is a game-changer for killing background noise before it even gets recorded.
Front: Listens intently to your voice.
Sides: Reduces sound from the left and right.
Rear: Almost completely deaf to sounds from behind it.
Picture this: you're on an important video call, and your mechanical keyboard is notoriously loud. By positioning a cardioid mic correctly, you can place that keyboard in the mic's rear "dead zone." Your voice comes through perfectly, but the click-clack of your typing is practically gone. This simple trick alone can dramatically clean up your audio.
Key Takeaway: Choosing a mic with the right polar pattern is the most effective hardware decision you can make for noise reduction. A cardioid pattern acts like a physical filter, stopping unwanted sound in its tracks.
Essential Accessories for a Bulletproof Setup
Your microphone is the star, but a few supporting actors are non-negotiable for a truly professional sound. These small additions solve common problems that even the best mics can't handle alone.
First up is a shock mount. This is the elastic cradle that suspends your microphone, isolating it from any vibrations traveling through your desk or mic stand. Without one, every desk bump, heavy footstep, or even aggressive typing turns into a distracting, low-end thump in your audio.
Next is a pop filter. This is the foam or mesh screen that sits between your mouth and the mic. Its job is to diffuse the bursts of air from "p" and "b" sounds (plosives). Without it, you get that jarring "popping" sound that makes listeners wince.
By combining the right microphone with these simple accessories, you build a powerful defense against background noise right at the source. This proactive approach not only makes you sound better live but also gives you a much cleaner recording for post-processing, making tools like Notize AI incredibly effective at turning your audio into valuable, accurate meeting notes, transcripts, or blog posts.
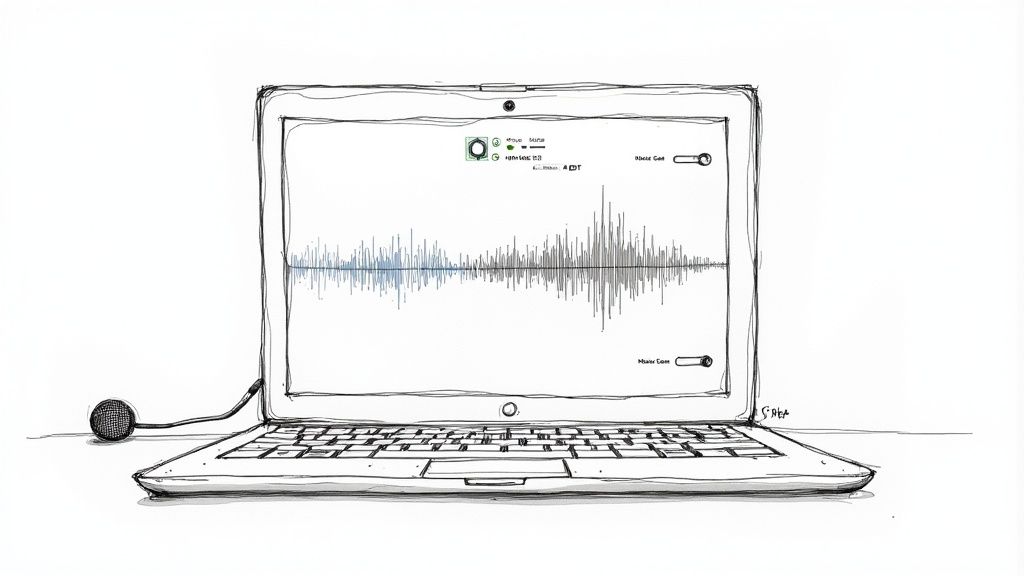
Using Software for Real-Time Noise Reduction
Once you’ve got your physical setup dialed in, it’s time to bring in the software. This is where you can really start cleaning things up in real time, filtering out pesky background sounds as they happen. Whether you're live-streaming, hopping on a meeting, or recording a podcast, these digital tools are what give your audio that final, professional polish.
Starting with clean audio is always the goal, but it's absolutely critical when feeding it into automated systems. Think about a tool like Notize AI—it needs to clearly hear the conversation to generate accurate transcriptions, summaries, and action items. The better your audio, the more reliable and productive those automated outputs will be.
Getting a Handle on Traditional Software Filters
You probably already have powerful noise-fighting tools at your fingertips. Many popular apps like OBS Studio, Discord, and Zoom include built-in filters to help you manage background noise. They can look a bit intimidating, but once you understand the basics, you’ll see what a huge difference they can make.
The most common tool you'll run into is a noise gate. It's simple, really. Picture a little gatekeeper sitting on your mic’s input. This gate only opens to let sound through when it’s loud enough—like your voice. The moment you stop talking, the gate slams shut, silencing all the quieter background hums, keyboard taps, and fan whirs.
To set up a noise gate, you'll need to tweak a few settings:
Threshold: This is the big one. It’s the volume level (in decibels) that sound has to hit before the gate opens. You want to set it just above the level of your background noise but comfortably below your speaking voice.
Attack Time: This controls how fast the gate opens. A quick attack time is crucial so the first part of your words doesn't get chopped off.
Hold Time: This tells the gate how long to stay open after the sound dips below the threshold.
Release Time: This determines how quickly the gate closes. A slower release often sounds more natural, avoiding an abrupt cutoff.
Another fantastic tool is the Equalizer (EQ). An EQ lets you surgically cut or boost specific audio frequencies. Got a low, rumbly hum from your air conditioner? You can use a high-pass filter (also called a low-cut) to slice out those low frequencies without touching the clarity of your voice.
The New Wave: AI-Powered Noise Suppression
Traditional filters are great, but the real game-changer these days is AI-powered noise suppression. Tools like NVIDIA Broadcast and Krisp use some pretty incredible machine learning to intelligently identify and zap non-vocal sounds as they happen.
Unlike a simple gate that just blocks all sound below a certain volume, these AI algorithms have been trained to know what a human voice sounds like. They can isolate your speech and actively filter out everything else—a dog barking, a baby crying, you name it. The best part? It's often as easy as flipping a single switch.
We’re not just talking about a small improvement here. Deep-learning systems consistently outperform classic methods. Research shows NVIDIA's real-time noise suppression tech, for example, delivers a massive boost in perceived audio quality on noisy speech. The best algorithms can dramatically lower background noise, giving you an improvement equivalent to gaining several decibels in your Signal-to-Noise Ratio. You can dig into the science in this research on advanced noise suppression systems.
For anyone who relies on clear communication, this technology is a lifesaver. You can't always control your environment, especially in back-to-back meetings. AI suppression makes sure your team hears you, not your surroundings. This is especially important when using tools like Notize AI to automatically capture meeting details, since it keeps background chatter from muddying the transcript. If you're looking for other ways to improve your virtual meetings, you might find our guide on how to record a Zoom meeting with clean audio helpful.
Whether you're a student in a noisy dorm or a streamer with an audience, these AI tools are a simple, powerful fix. They act like a digital shield for your voice. When you combine this kind of smart software with the hardware and room adjustments we’ve already covered, you create a powerful, multi-layered defense against noise. It’s this combined approach that ensures your audio is consistently clean and professional, ready for anything from a quick chat to detailed analysis with Notize AI.
Using Post-Processing to Rescue Noisy Recordings
Let's be realistic: even with the best mic and a perfectly treated room, some background noise is just going to happen. A sudden downpour, the delivery driver ringing the doorbell, or that impromptu meeting in a loud coffee shop—life happens, and sometimes it compromises an otherwise great recording.
This is where post-processing comes in. It’s your safety net. But manually scrubbing out every hum, click, and bit of chatter from an audio track is mind-numbingly tedious. Instead of chaining yourself to an audio editor for hours, there’s a much smarter way to clean things up and get right to the good stuff.
Moving Past Manual Editing
The old-school way of cleaning up a noisy recording involved firing up a Digital Audio Workstation (DAW) and meticulously applying noise gates, EQs, and reduction filters. It’s a process that demands a fair bit of technical skill and a whole lot of time—two things most of us don't have to spare.
Thankfully, we're not stuck in the past. Imagine you’re a journalist who just snagged a crucial interview in a windy park. Instead of spending your evening fighting wind noise in an editor, you could just upload the file to a tool like Notize AI. Its algorithms are trained specifically to tell the difference between a human voice and all that disruptive background sound, effectively pulling the conversation out of the noise.
This changes everything.
You save hours. Seriously, what used to take an entire afternoon can now be done in minutes.
You don't need to be an audio pro. Anyone can get clean, professional-sounding results.
You get to focus on the content. It lets you zero in on what was said, not the technical hiccups in the recording.
With a tool like Notize AI, that windy interview is no longer a post-production nightmare. The platform can generate a clean, accurate transcript and even help you draft a blog post from the conversation almost instantly.
Real-World Scenarios Where This Works
This kind of automated cleanup is a lifesaver in so many situations.
Think about a student recording a lecture from the back of a huge, echoey hall. The audio is a mess of shuffling papers, coughs, and ambient chatter. Trying to transcribe that by hand would be impossible.
By uploading it to Notize AI, the student gets way more than just a cleaned-up audio file. The platform intelligently isolates the professor's voice from the chaos to produce:
Accurate, structured lecture notes.
A quick summary of the main points.
A searchable transcript to find specific topics in a snap.
Suddenly, a frustrating recording becomes an incredibly useful study tool, all without a single second of manual editing. If you're curious about how this works behind the scenes, our guide on how to transcribe audio to text breaks down the whole process.
The real win here is turning messy, real-world recordings into something you can actually use. The question changes from "How do I fix this audio?" to "What can I learn from this content?"
Ultimately, tools like Notize AI bridge the gap between a raw, imperfect recording and a polished final product. They do the heavy lifting of audio cleanup and content extraction, turning a tedious chore into a simple, automated step. This means professionals, students, and creators can rescue valuable recordings and put them to work right away, making sure no great idea gets lost to a noisy room.
Building Your Ultimate Noise-Free Audio Setup
Getting consistently clean audio isn't about finding one magic bullet. It’s about building layers of defense against noise. If you just rely on a great microphone or a single software filter, you're leaving yourself wide open to unexpected sounds ruining your recording.
The most resilient strategy is to build a complete "noise stack"—a multi-layered approach that starts with your physical environment and ends with smart software processing.
This method combines physical, hardware, and software solutions that work together, each layer adding to the last. In fact, clinical research has shown that combining digital noise reduction with directional microphones delivers the biggest improvements and the highest user satisfaction. This principle is the secret to a genuinely professional-sounding setup.
The Professional’s Noise Stack
Let's imagine you're a professional about to lead a really important webinar. Your audio has to be flawless to keep your audience engaged and maintain your credibility.
Your noise stack would look something like this:
Environment: You’d start by choosing a quiet room, maybe a carpeted home office, and making sure the door is closed.
Hardware: A dynamic cardioid microphone on a boom arm is a great choice. It naturally rejects off-axis sounds like keyboard clicks, and you can position it close to your mouth for a strong, clear signal.
Real-Time Software: In your meeting software, like Zoom or Microsoft Teams, you’d enable the built-in AI noise suppression. This acts as a safety net, catching any stray sounds that slip through.
Final Polish: For post-meeting productivity, Notize AI is the final step. After the webinar, you can upload the recording to instantly get a full meeting summary, key discussion points, and a list of action items, ensuring nothing gets missed. To really nail this process, check out our guide on how to go about recording a webinar effectively.
The Student’s Noise Stack
Now, think about a student trying to record a lecture in a bustling classroom. The goal here isn't to control the environment—that's impossible. It's all about isolating the professor's voice from all the surrounding chatter.
The core idea is to build a defense that accounts for your specific recording challenges. A streamer's needs are different from a student's, but the principle of layering solutions remains the same.
A student's stack might look very different, but it's just as effective:
Hardware: A small, directional lavalier microphone clipped on or a shotgun mic aimed directly at the speaker would be ideal for capturing just their voice.
Software: Using a recording app on a phone or laptop that has some form of built-in noise reduction is a good first pass.
Post-Processing: This is where the magic happens. Upload the raw lecture recording to Notize AI. The platform’s AI intelligently separates the professor's speech from the background noise, generating clean notes, summaries, and searchable transcripts that make studying a breeze.
This simple workflow shows just how straightforward processing your audio for the cleanest output can be.
The key takeaway is that modern audio tools have made this cleanup process almost automatic. You can turn a raw, noisy recording into a polished, genuinely useful asset with just a few clicks.
Got Questions? We’ve Got Answers
You're not the first person to wrestle with background noise. Here are some quick, no-nonsense answers to the questions I hear most often from people trying to get cleaner audio.
Is it possible to get rid of all background noise?
Honestly? Probably not, unless you’re recording in a purpose-built professional studio. The real goal isn't absolute silence; it’s pristine clarity.
Your aim is to reduce background noise so much that it's practically unnoticeable. By layering the different strategies we've covered—like treating your room, picking the right mic, and using smart software—you can easily push that hum, hiss, and chatter into the background where it belongs. The result is audio that sounds clean and professional, keeping your listeners focused on your voice.
Will buying an expensive microphone solve my noise problems?
Not necessarily. In fact, sometimes it can make things worse. A high-end, super-sensitive condenser microphone is designed to pick up every little detail, which is great for a treated studio but a nightmare in a noisy room. It'll just amplify all the sounds you're trying to avoid.
For many home setups, a less expensive dynamic microphone is actually the smarter choice. It's all about matching the tool to the environment, not just throwing money at the problem. A $100 dynamic mic in a noisy room will often outperform a $1,000 condenser mic in the same space.
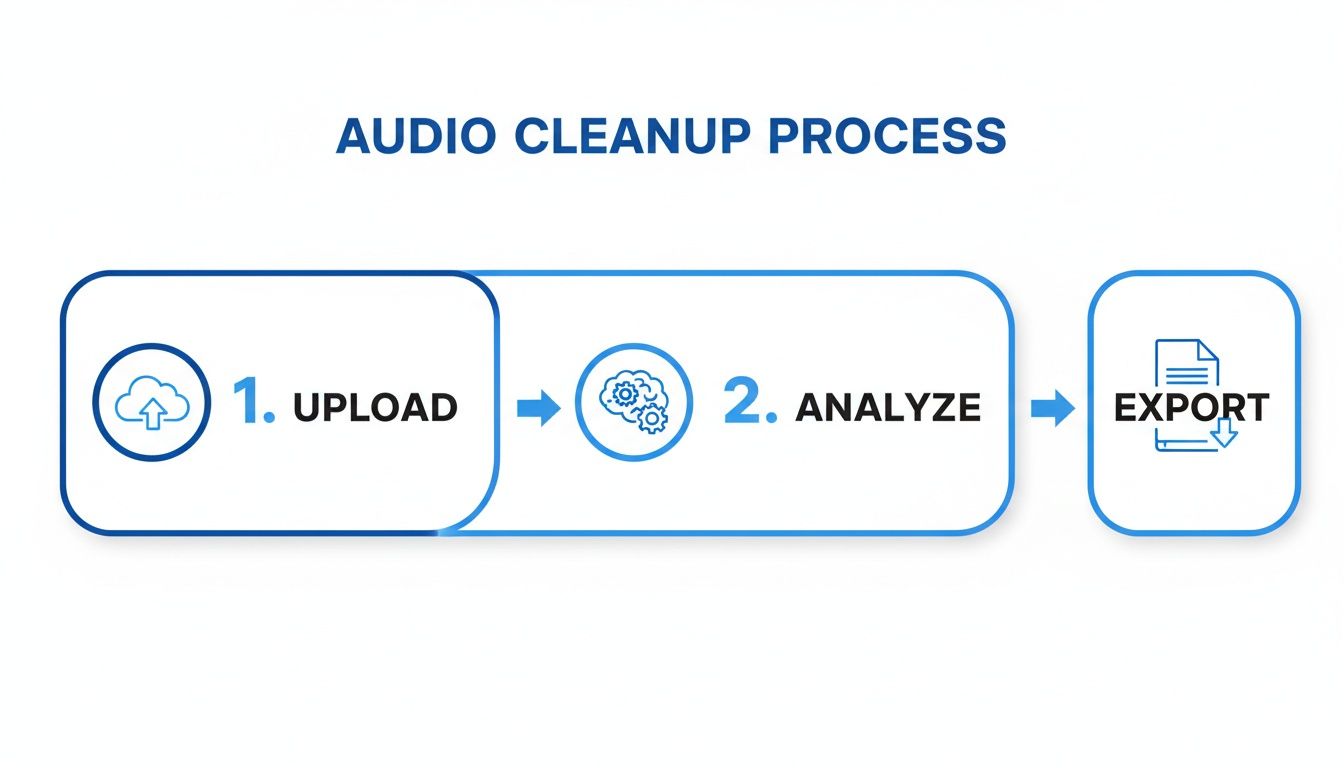
How does Notize AI deal with recordings that are already noisy?
This is where it gets really useful. Notize AI was built for the real world, where audio is rarely perfect. Its AI is specifically trained to tell the difference between a human voice and all the junk in the background.
So, if you upload a recording from a meeting, lecture, or interview with a moderate amount of noise, the platform can still pull out the speech and generate incredibly accurate transcripts, summaries, and action items. You get to skip the whole tedious process of cleaning up the audio yourself.
I've seen this work wonders. For professionals, it means that even if a critical decision was made during a moment of background chatter, Notize AI can isolate the dialogue and highlight it in the meeting notes. It turns a post-production headache into a simple, automated task.
This means you can rescue valuable content from less-than-ideal recordings without needing any audio engineering skills.
What’s the one thing I can do right now to make the biggest difference?
Easy. Get closer to your microphone.
The single most effective fix is microphone proximity. Moving the mic closer to your mouth dramatically increases the volume of your voice compared to the background noise. This simple adjustment costs nothing and can improve your audio quality more than any other single change. A good rule of thumb is to keep the mic about a palm's width from your mouth.
Once you've captured your audio, let Notize AI take over. Don't just let those recordings sit there—turn them into summaries, action items, and searchable transcripts in just a few minutes. Start transforming your audio and video files into valuable, actionable content today.
How to reduce background noise on mic: Quick tips for crystal-clear audio